Raised, Inlay or Cutout: Which Style for 3D Printed Lamp Plates and Cards
The generators offer three ways to put text and an image on a lamp plate or card: Raised, Inlay and Cutout. They look different, print differently and use a different number of filaments. This guide helps you choose.
The three styles
- Raised: text and image stick out of the surface, each in its own color.
- Inlay: text and image sit flush in the surface, printed in extra colors, so the top is smooth.
- Cutout: text and the dark parts of the image are engraved into the surface. It uses a single color.
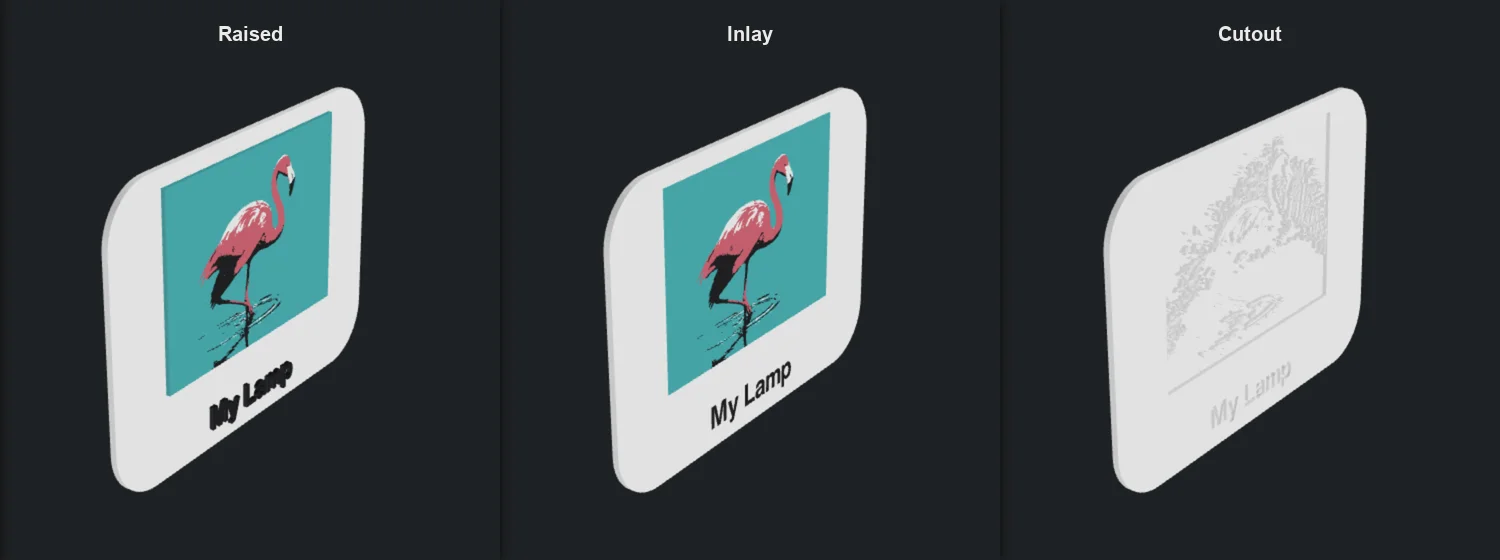
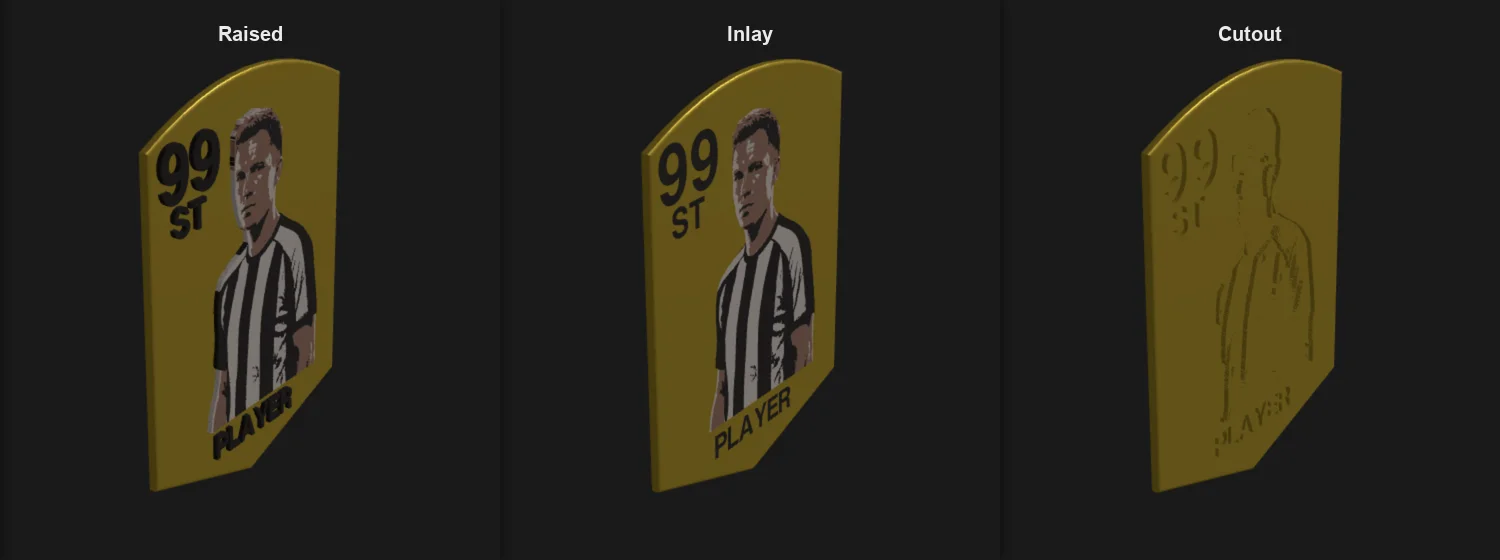
Side by side
| Raised | Inlay | Cutout | |
|---|---|---|---|
| Look and feel | Embossed relief you can feel | Flat, smooth surface | Engraved, tactile grooves |
| Filaments | Up to 4 | Up to 4 | 1 (the surface color) |
| Color changes | Yes | Yes | None |
| Filament waste | Medium to high | Medium to high | Lowest |
| Depth setting | Raised height (mm) | Inlay depth (mm) | Engraving depth (mm) |
| Prints with the design | Up | Up (can be flipped down in the slicer) | Up |
| Best for | Cards you want to feel, bold graphics | Lamp plates, a polished flat finish | Single-color text, backlit plates |
When to choose which
Raised
Pick it when you want a physical relief, for example a collectible card where the name and rating stand out. In Raised mode the image is built from all your filaments, including the card color, so the picture forms a relief on a solid base.
Inlay
Pick it for a flat, finished surface: it is the lamp plate's default. The colored parts fill pockets in the plate or card, so nothing catches on a fingernail, and cards stack and store neatly. It has the same color-change cost as Raised.
Cutout
Pick it when you want the simplest, fastest and most economical print: one filament, no color changes and no purge waste. It also works well for a backlit lamp plate. Engraved areas are typically thinner, so more light passes through them than through the surrounding surface when the plate is lit from behind.
Which side faces the build plate
- Raised: design up. The relief has to be on top; upside down it would hang in the air.
- Cutout: engraving up. Upside down, the floor of each engraving would be printed over empty space and sag.
- Inlay: design up in the downloaded file, so first-layer flaws stay hidden on the back; turn ironing on for a smooth top. Flipped design down in the slicer, the front becomes the first layer, pressed flat onto the build plate: perfectly even, crisp color edges and the plate's texture, no ironing needed, but any first-layer flaw shows.
Choosing the depth
- Match the depth to your layer height. With 0.2 mm layers, 0.4 mm is two layers and 0.6 mm is three, which prints cleaner than a value between layers.
- Shallow depth keeps the print fast but makes color or contrast edges less pronounced. Deeper raised or engraved areas read better from an angle.
- Very deep engraving leaves a thin base. Keep enough material below the engraving so the plate stays solid.
Switching styles is free
Styles only change the 3D shape, so try all three in the viewer and the print preview before committing to a print. The palette follows the style: in Cutout the extra ink slots are greyed out because only the surface color is used.